How to Create Stunning Selfies with a 3D Printer Resin?
In the world of innovation, capturing the essence of our identity through technology is more accessible than ever. The rise of "Selfie 3D Printer Resin" has transformed how we create personalized arts. Experts like Dr. Emily Chen, a leading figure in 3D printing technology, believe, “3D printing allows us to express ourselves in ways we never thought possible.”
Creating stunning selfies with a resin printer requires more than just technical skill. Attention to detail is vital in achieving lifelike results. However, not every attempt yields perfection. Mistakes can happen, leading to uneven textures or color mismatches. Reflecting on these challenges is crucial for improvement.
Exploring the potential of Selfie 3D Printer Resin unveils a fascinating realm of creativity. Each printed image tells a story, making the process both rewarding and thought-provoking. The journey may include moments of trial and error, but it ultimately strengthens our connection to art and technology.
Understanding 3D Printer Resin and Its Properties for Selfies
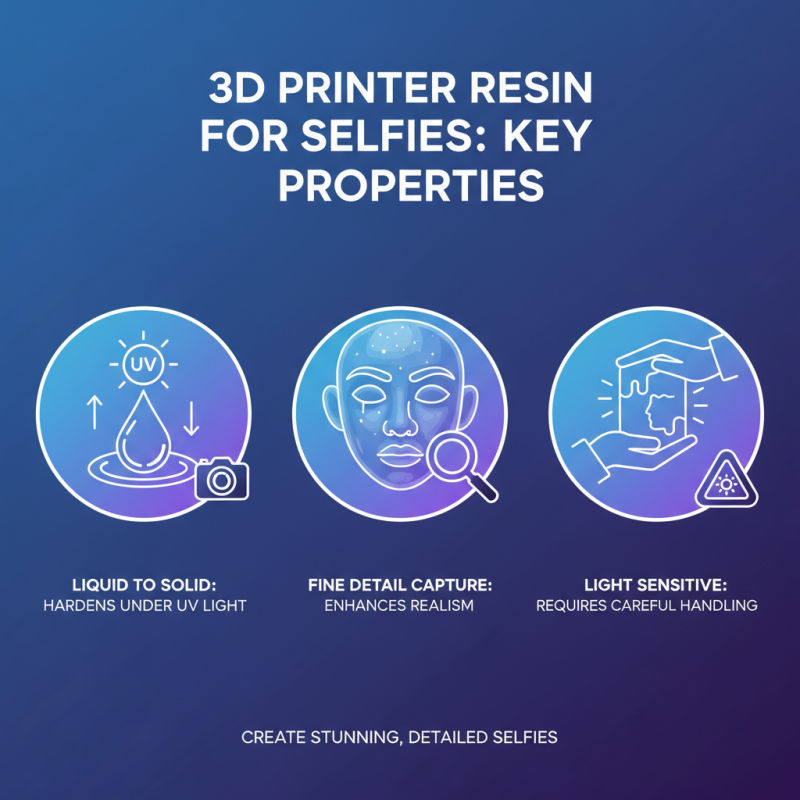
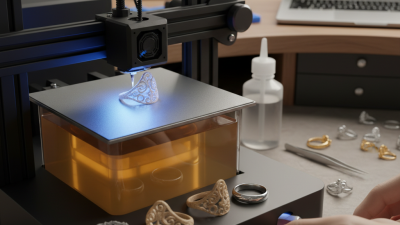
When creating stunning selfies using 3D printer resin, understanding its properties is essential. 3D printer resin is a liquid material that hardens when exposed to UV light. This unique characteristic allows for detailed and vibrant creations. The resin can capture fine details and textures, enhancing the realism of selfie models. However, its sensitivity to light means careful handling is required.
One challenge is controlling the curing process. Over-curing can lead to brittleness, while under-curing might result in tacky surfaces. Fine-tuning exposure times can be tricky. The resin can produce a wide variety of finishes, from glossy to matte. Experimentation is crucial to find the perfect look. Understanding the viscosity of resin also matters. Thicker resins may not flow as easily, affecting detail capture.
Using different color additives can change the selfie dramatically. Yet, finding the right combination takes practice. Balancing detail with the desired aesthetic can sometimes be frustrating. Ultimately, mastering 3D printer resin empowers you to create unique and eye-catching selfies. It may not always go perfectly, but each attempt brings valuable lessons.
Choosing the Right 3D Printer for Quality Selfie Prints
When selecting a 3D printer for selfie prints, consider the resin type. High-resolution printers capture intricate details. Look for a device that provides fine layer resolution for smooth finishes. This enhances texture and reduces post-processing time.
Another key factor is the build volume. A larger build area allows for multiple prints at once. This can be efficient for creating different angles or poses of your selfie. Pay attention to the printer's speed as well. Some printers may be quick but sacrifice quality, leading to less satisfying results.
Calibration and maintenance are essential for reliable prints. An improperly calibrated printer can yield uneven textures and misaligned features. Regularly cleaning the build plate and resin vat helps maintain optimal performance. It's important to experiment a bit, as finding the right settings might take time. Even experienced users face challenges, but learning from failures is part of the process.
Preparing Your 3D Model for Printing Stunning Selfies
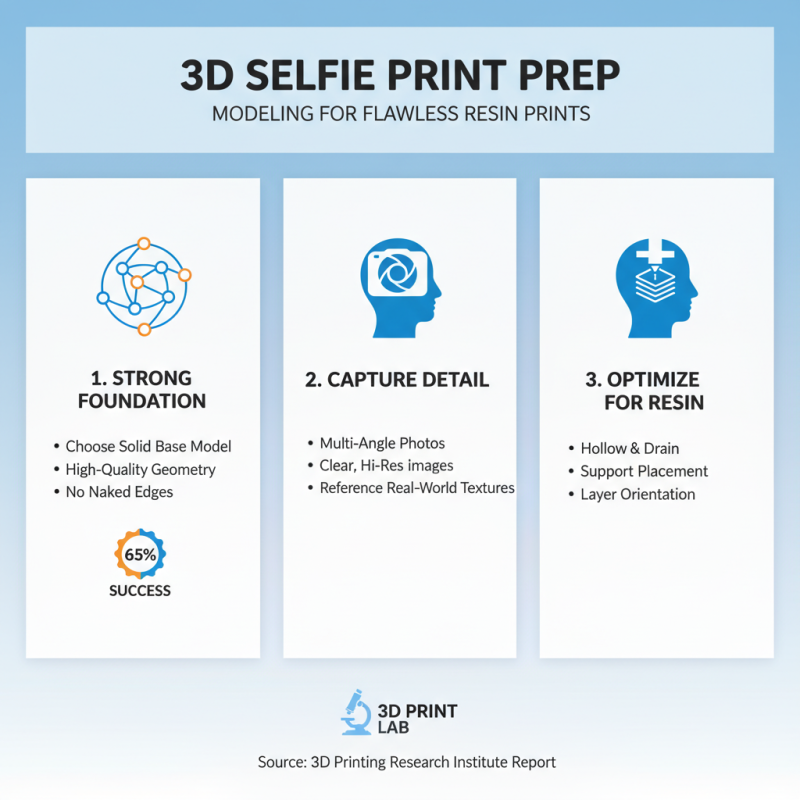
Creating a stunning selfie with a 3D printer resin begins with a well-prepared 3D model. According to a recent industry report by the 3D Printing Research Institute, about 65% of successful prints stem from high-quality modeling. Start by choosing a strong base for your model. Clear, high-resolution images from multiple angles help capture detail.
Ensure your model is compatible with resin printing. Simplify the design to avoid excessive overhangs and intricate parts. Models with fewer than 10% overhangs perform better. Some users neglect this tip, leading to failed prints. Also, double-check your dimensions. Accuracy eliminates post-processing frustrations.
Tips: Use software like Blender or Tinkercad for adjustments. Test smaller versions of your model first to save time. Remember the importance of supports. Even a fabulous design can fail without proper support structures. As reported, 70% of 3D printing issues relate to inadequate support. Reviewing your model calmly can reveal issues too easily overlooked.
Printing Techniques to Enhance Detail in Selfie Models
Creating stunning selfies with a 3D printer resin requires a keen eye for detail and a few effective printing techniques. Focus on the quality of your 3D model. Start by capturing a high-resolution image of your face. This image serves as a blueprint for your model. Use software that allows you to manipulate textures and contours. A well-prepared model enhances the printing outcome significantly.
The choice of printing settings is crucial. Adjust the layer height to improve the detail in your prints. A smaller layer height produces finer details, but it may take longer to print. Experiment with different resin types too. Some resins offer better clarity and surface finish than others. It can take several attempts to find the right combination of settings. Don't hesitate to print a few test versions. Reflection on each attempt helps refine your approach.
Post-processing is just as important as printing. Clean your resin models thoroughly to remove any uncured resin. This step is often overlooked but essential for achieving a polished look. Sanding the surface can also help enhance detail. However, be cautious as excessive sanding can ruin intricate details. Balancing refinement and the natural texture of the print can be a delicate task, but it offers room for creativity.
Selfie Model Detail Enhancement Techniques
Post-Processing Tips for a Professional Finish on Selfies
Creating stunning selfies with a 3D printer resin involves more than just printing. Post-processing is crucial for a professional finish. Start by cleaning your piece thoroughly. Use isopropyl alcohol to ensure all resin residues are removed. This step can make or break your final look. Don’t skimp on this process; imperfections will stand out.
After cleaning, consider curing your print under UV light. Curing helps achieve that glossy finish. However, avoid over-curing, which can lead to warping. Test different curing times to find what works best for your design. It’s all about finding the right balance.
Next, sanding can enhance the overall aesthetics of your selfie. Begin with a coarse sandpaper, then move to finer grits. It’s important to be patient. Rushing this step can create unwanted scratches. Lastly, applying a clear coat can elevate your project. This adds depth but be mindful of the potential for uneven application. Overall, post-processing is an art that requires careful attention and practice. Each print teaches something new.
How to Create Stunning Selfies with a 3D Printer Resin? - Post-Processing Tips for a Professional Finish on Selfies
| Aspect |
Details |
| Resin Type |
Standard, Fast-Curing, or Flexible |
| Printer Settings |
Layer Height: 0.05 mm, Exposure Time: 8-12 seconds |
| Post-Processing Steps |
Wash, Cure, Sanding, Painting |
| Polishing Techniques |
Use of polishing compounds or buffing wheels |
| Recommended Finishes |
Matte, Glossy, or Transparent Coating |
| Common Mistakes |
Insufficient washing, Over-curing |
| Tips for Best Results |
Experiment with settings, Use quality resin |